This is a large download (~5GB) so it may take some time.
The Robotic Operating System
In this class, we are going to be using the Robotic Operating System (ROS). ROS is a sophisticated and open source framework of software libraries, simulators, and development tools that help us to more quickly and effectively build robot systems. Why are we learning ROS? Well, ROS has become the de-facto standard for the robotics community and is one of the enablers of the current robotic revolution, so what we learn in this class (a small portion of ROS) will be valuable regardless of what direction your future takes you. Other reason to use ROS is that you will join an active community that constantly invents new robots (in the hundreds), provides new packages to cover the latest emerging algorithms and paradigms, and give us tons of documentation, answers, and support (thousands of contributors!). Take a look at the wide range of robots that use ROS below (or the whole list):
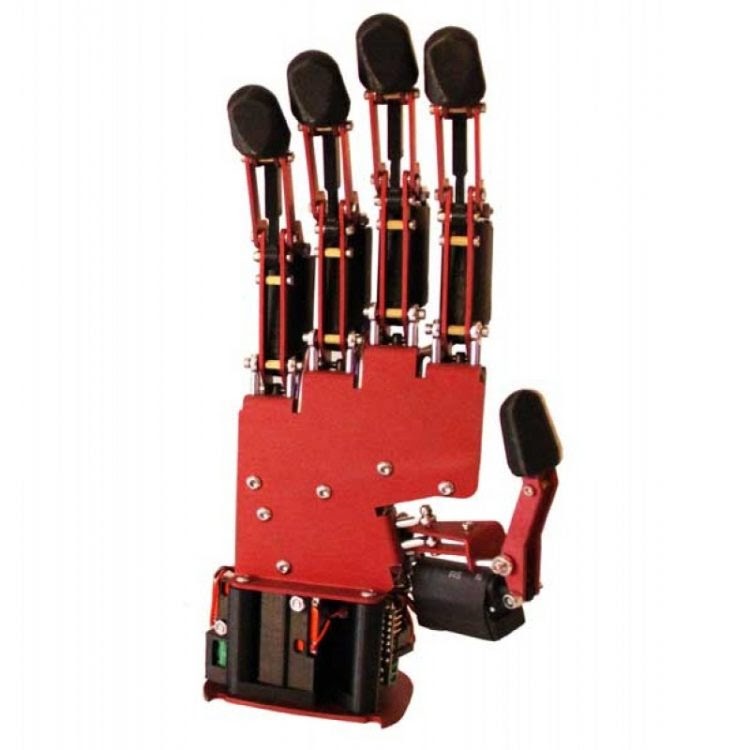
Prosthetic Robot
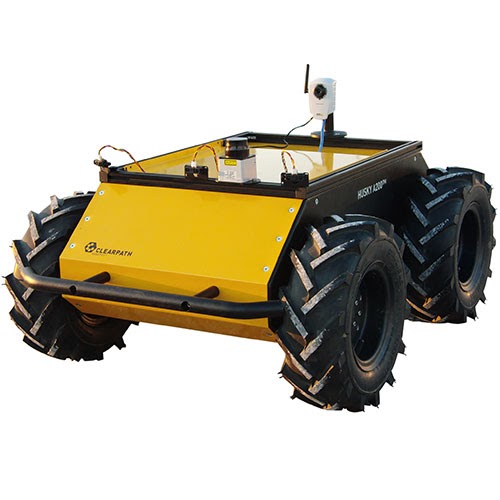
Ground Robot
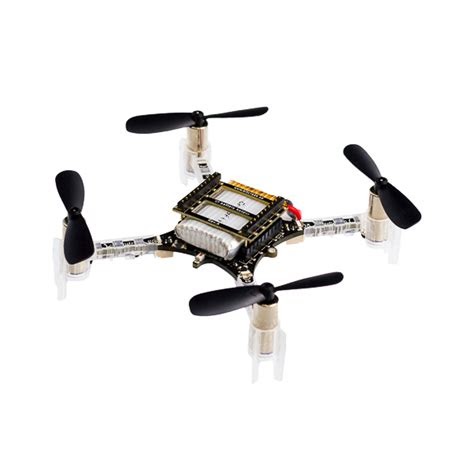
Aerial Robot
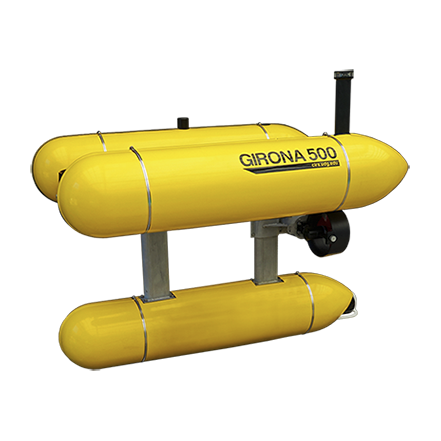
Underwater Robot
Learning Objectives
This lab is structured into two sections. The first shows you how to setup the virtual machine we will be using for this and futures labs. This section aims to teach how to:
- Install a virtual machine that includes ROS.
- Run basic ROS commands on a virtual machine.
The second part of the lab aims at teaching you the basics of building ROS-based systems and tooling. More specifically it aims to teach you how to:
- Compile ROS code.
- Launch ROS files.
- Use ROS tools.
Getting a Machine with ROS
ROS is mainly developed on Linux-Ubuntu. We will, therefore, need you to install a virtual machine that will allow you to access Linux and start developing in ROS. We are providing a virtual machine with everything you need to get started. To set up the virtual machine, we need you to install Oracle Virtual Box. Virtual Box is a software that allows us to run virtual machines on top of multiple platforms like Windows and Mac OS.
Installing Virtual Box:
To install Virtual Box start by selecting your current operating system from the link below:
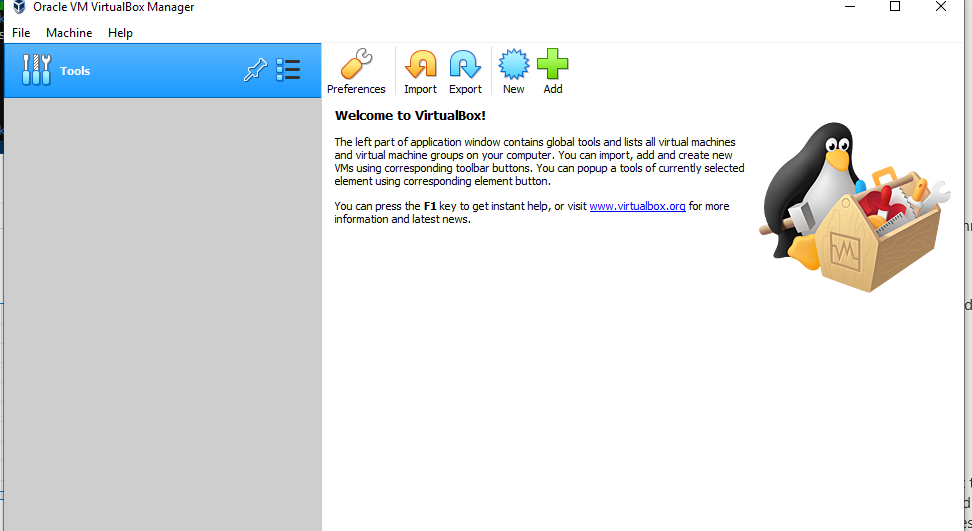
This will download the install file. Click the install file and follow the prompts until Virtual Box has been successfully installed. If everything was successful, when you start Virtual Box you should see a screen similar to the one below:
Downloading the Virtual Machine:
We are now going to download and install the virtual machine for this class. Start by downloading the virtual machine.
Once you have downloaded the virtual machine, in Virtual Box, click File->Import, Appliance->(In the file text-box search for "CS4501-2021.ova")->Continue. You should see a screen like this:
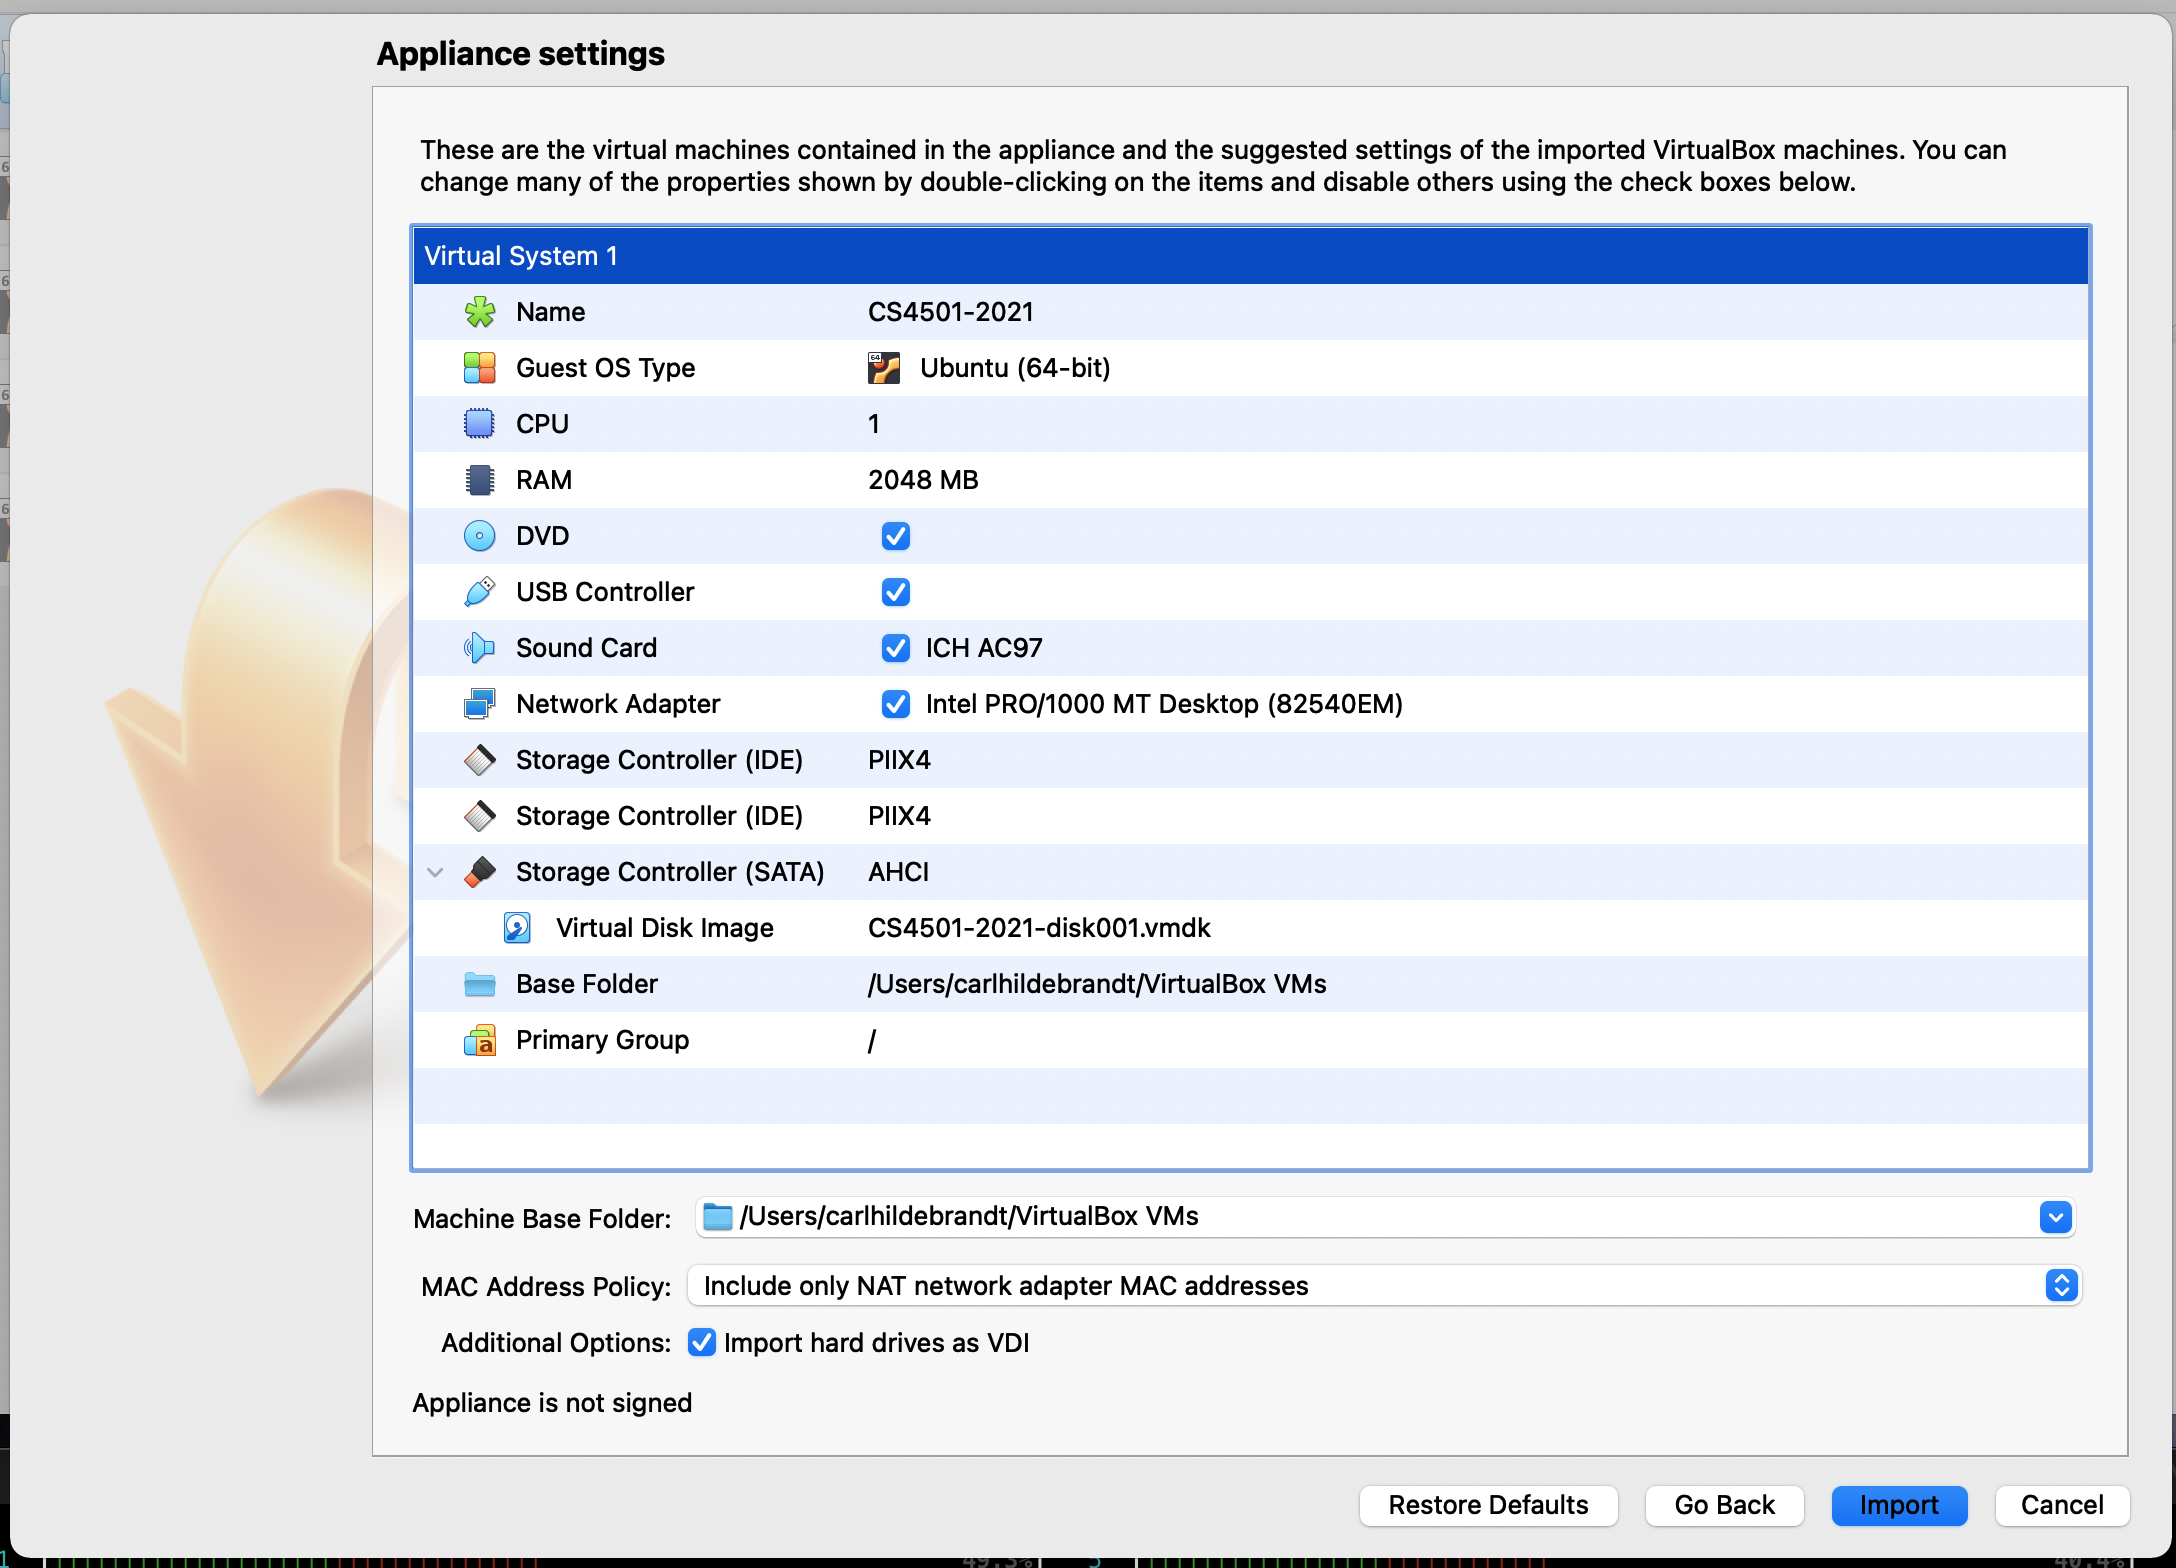
Change the following settings to match your computer specifications:
- CPU: Recommend 2 Cores
- RAM: Recommend 2Gb
Note: If you have a more powerful computer, feel free to increase these values.
When you are done click Import and wait for the setup to complete.
Using the Virtual Machine
To run the virtual machine, click the green “Start” button. You will then see an Ubuntu 18.04 login screen. The login details are:
- Username: CS4501
- Password: robot
Adding Guest Additions
VirtualBox’s guest additions is additional software that may enable better performance and functionality in your virtual machines. For example, on your main computer, your OS knows what resolutions its display is using the drivers from your graphics card. A virtual machine can’t do this, so it displays in a low resolution (such as 800x600) by default.
Guest additions contains display drivers and other useful tools that make your virtual machine much more usable. To install guest additions, with the virtual machine open, do the following:
- In the menu, Click
Devices->Insert Guest Additions CD Image. - A prompt will open in your virtual machine. Click
Run - Reboot the machine when it is done.
We have noticed that for certain machines, especially machines with high resolution screens, your virtual machine still might lag. Reducing the VM’s resolution helps things to run faster since it has to render fewer pixels. First change Ubuntu’s resolution by going to Settings->Devices->Displays->Resolution, and changing it to something like (1024 X 768). You can then get Virtual Box to scale up the window to look bigger while keeping the lower internal resolution. While the virtual machine is running, up at the top left click View->Virtual Screen 1. In that dropdown select one of the percentages.
Test your Virtual Machine:
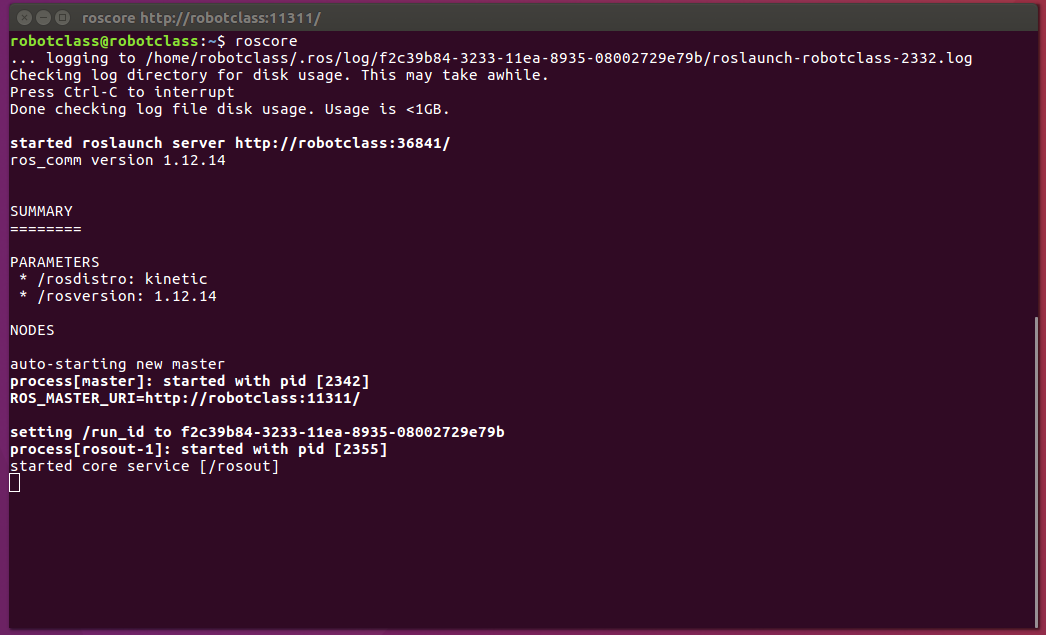
To test that the machine and ROS is working open a terminal and run the following command:
$ roscore
The terminal should output something similar to what you see in the picture below. If this is the case you are all done!
Checkpoint 1
At the end of this lab, you should be able to do the following:
- Launch the virtual machine
- Run
roscorein the terminal
Our First Code in ROS
Robots are complex systems, made of many software and electro-mechanical components, all interacting as the robot senses and acts on the world. ROS helps us to manage that complexity through abstractions, infrastructure, and tools. To start getting a sense of what ROS can do for us and how it operates, in this lab, we will build, run, and inspect some simple ROS code to control a simple rocket operating in simulation.
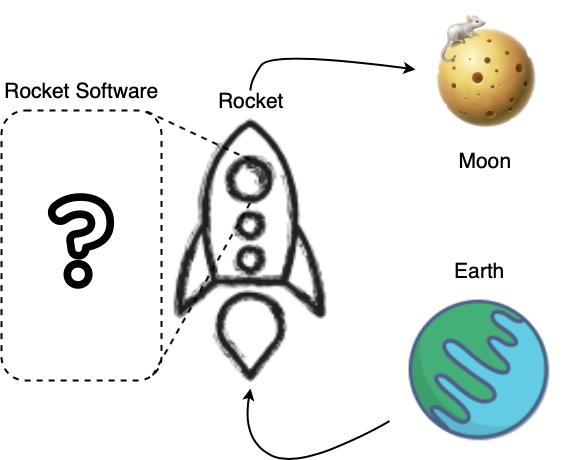
Rocket Ship
Let’s assume we have been given the software used to fly a rocket to the moon. The rocket’s software is written using ROS. Our job is to use the ROS tools to compile, launch, and then monitor this rocket on its journey to the moon.
Downloading the Code
To start the lab, we need to make sure the lab code is up to date. You can do that by opening a terminal and running:
# Change to labs directory
$ cd ~/Desktop/CS4501-Labs
# Pull the latest code
$ git pull
Structuring and Building ROS Code
To start, we first need to compile the rocket’s ROS code. ROS code is organized into workspaces. A ROS workspace is a folder where you modify, build, and install ROS code. Workspaces are one way to address the complexity in the development of large systems by providing a standard structure where developers and tools know where things are located. ROS even has community conventions on such structures.
Let’s now build the code in the workspace. Open a terminal in your virtual machine and run the following command:
# Change the directory to the ROS workspace
$ cd ~/Desktop/CS4501-Labs/lab1_ws/
# Compile the ROS code
$ catkin build
catkin is the name of ROS build system, the system that gathers source code and generates a target, similar to CMake but with extra support to handle the dependencies between heterogenous packages that usually coexist in robotic systems. Check catkin design for more information.
If you get no errors, you have successfully build your rocket’s ROS code. ** When you change your code and want to run it, you should build it first.**
Next, let’s run our rocket software. The rocket software consists of three software components. Let’s start each component by opening four new terminals. In each of the terminals run the following:
Terminal 0:
We need to start the ROS core, a key piece of ROS infrastructure which provides rich standarized mechanisms for processes to communicate.
# Start ROS in the background
$ roscore
Terminal 1:
# Update your environment variables so that ROS knows where your workspace is
$ source ~/Desktop/CS4501-Labs/lab1_ws/devel/setup.bash
# Run the rocket-ship source code
$ rosrun rocketship rocket_engine.py
The rocket_engine software controlling the power to the rocket engine is now running. You will see no further messages printed in this terminal.
Terminal 2:
# Update your environment variables so that ROS knows where your workspace is
$ source ~/Desktop/CS4501-Labs/lab1_ws/devel/setup.bash
# Run the rocket-ship source code
$ rosrun rocketship main_controller
The main_controller which commands the rocket_engine to go at certain velocity is now running. The main controller should respond with the following message:
>>> [ INFO] [...]: Rocket Ready for Countdown
Now let’s get ready to launch the rocket! Start the countdown using terminal 3.
Terminal 3:
# Update your environment variables so that ROS knows where your workspace is
$ source ~/Desktop/CS4501-Labs/lab1_ws/devel/setup.bash
# Run the rocket-ship source code
$ rosrun rocketship countdown
The countdown component gives the command to the main_controller to initiate the launch sequence.
If everything went correctly in terminal 2, you should see a countdown (after 5 seconds) and subsequent velocity commands as shown below:
>>> [ INFO] [...]: Countdown: 10s
>>> [ INFO] [...]: Countdown: 9s
>>> ...
>>> [ INFO] [...]: Requested Velocity: 0.076450m/s
>>> [ INFO] [...]: Requested Velocity: 0.077994m/s
>>> ...
That’s awesome. We just launched the rocketship using ROS code!
You can stop execution of your code using the key-combination:
$ CTRL-C
But let’s dive a bit deeper so that we start to understand what is going on behind the scenes. To launch this rocket, we needed four terminals.
to launch the roscore, the rocket_engine, the main_controller software, and the countdown software.
Using this information, we can start to understand some of the system organization as shown below:

Roslaunch
Having to run many different software components is common in robotics, but doing it manually by setting terminals as we have done is practical, especially when deploying a system requires hundreds of processes to be run in specific ways. Another way that ROS helps to address system complexity is by making it easier to deploy multiple software components through launch files. Another benefit of a ROS launch file is that it automatically checks if a roscore is running, and if not, it starts one.
Let’s create a launch file to run all the software components of our rocket. First, open the base rocket.launch file provided to you. You can do that using:
$ code ~/Desktop/CS4501-Labs/lab1_ws/src
And then navigate to the launch folder under rocketship/launch/rocket.launch. You will find an empty launch file with xml code as shown below:
<?xml version="1.0"?>
<launch>
   <!-- Add your code here -->
</launch>
Let’s add each of the different software components into the launch file. ROS calls each software component a node. Add the following lines between <launch>and </launch>.
<node pkg="rocketship" type="rocket_engine.py" name="RocketEngineNode"></node>
<node pkg="rocketship" type="main_controller" name="MainControllerNode" output="screen"></node>
<node pkg="rocketship" type="countdown" name="CountDownNode"></node>
Take a second to explore what is inside the launch file. By using a launch file, ROS knows to start roscore automatically and how to start three software modules (nodes) rocket_engine, main_controller, and countdown. Each of the nodes belongs to the rocketship package (pkg). We want the main_controller to output to screen. Save the file and go back to your terminal. Let’s launch the rocket. Close all terminals and open a new one. To launch the rocket we need to run:
# Update your environment variables so that ROS knows where your workspace is
$ source ~/Desktop/CS4501-Labs/lab1_ws/devel/setup.bash
# Run the countdown code
$ roslaunch rocketship rocket.launch
This time you should see the rocket state that it is ready for launch. The countdown should automatically begin, and the rocket should launch!
Using ROS Tools
Next, let’s use some of the built-in ROS tools to get a better understanding of how our rocketship works. Let’s start by finding what kind of communication is occurring between the software modules in this rocketship.
Leave the rocketship running and open another terminal. In that terminal, run the following command. (Note we will discuss ROS nodes and topics in more detail in the next lecture)
# List all the communication channels (ROS topics)
$ rostopic list
You will see the following output:
>>> /cmd_vel
>>> /countdown
>>> /launch_abort
>>> ...
This shows us the names of all the created communication channels (topics) that exist between processes.
The next thing we might want to do is to display the data (messages) being sent on any one of these communication channels. Lets, for instance, display the rockets commanded velocity /cmd_vel:
# Display the data on the ROS communication channel (ROS messages)
$ rostopic echo /cmd_vel
>>> data: 1684.0
>>> ---
>>> data: 1684.0
>>> ...
Notice how these numbers match the numbers being printed by the rocketship software:
>>> [ INFO] [...]: Requested Velocity: 1684.000000m/s›
>>> [ INFO] [...]: Requested Velocity: 1684.000000m/s
RQT Graph
Our rocketship code is reasonably simple, and keeping track of what is going on in our heads is manageable.
However, when you get to work on larger systems, it sometimes helps to visualize the software modules and their communication altogether. One way to do that is to use rqt_graph. rqt_graph provides a GUI plugin for visualizing the ROS computation graph made of topics and nodes.
Open another terminal and while your rocketship is running run the following command:
$ rqt
You will be presented with a blank GUI. Click Plugins->Introspection->Node Graph. Then change the first dropdown to Nodes/Topics (all) and uncheck the hide deadsinks and hide leaf topics as shown in the figure below:

This gives us a much clearer picture of the software we are running. The software modules are the nodes and they are represented as circles. The communication channels are the topics and they are represented as rectangles.
Checkpoint 2
Take a screenshot of the ROS communication graph.
- How many software modules (nodes) are there?
- How many communication channels (topics) are there?
RQT Plot
Previously we displayed data on the terminal using rostopic echo. For identifying data patterns or trends, sometimes if helps to visualize the data through plots.
With the rocket running, start rqt_plot in a new terminal:
$ rqt
To open rqt_plot click Plugins->Visualization->Plot. You will see output similar to the figure on the left. In the topic edit-box, type in /cmd_vel and hit the green + button. You will see a blue line, as shown in the right-hand figure. Use the magnifying glass to set the scale correctly and the arrows to locate the data being plotted.
The mapping between your primary OS and your virtual OS is different for each machine, and thus you might have to use shift to right-click for some machines.
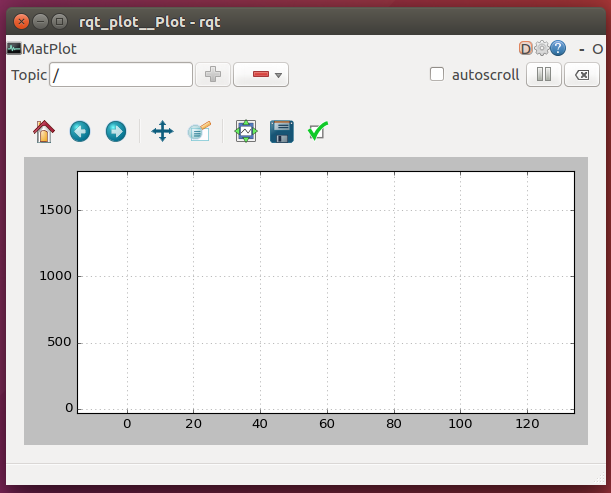
After running the rqt_plot command, a GUI similar to this will appear on your screen.

Enter the cmd_vel topic and hit the green + button. You can use the magnifying glass to zoom in and out (right-click and drag to zoom out).
Checkpoint 3
You now have all you need to launch the rocket and plot the data passed between the different software components. Now plot both the command velocity (/cmd_vel) and the velocity sensor data (/sensor_vel) using rqt_plot. Relaunch the rocket’s software so that you can see the velocity from the count down until it reaches maximum velocity. Take a screenshot of your graph.
The graph is continually updated and should move as the rocket launches. This is what you should see.
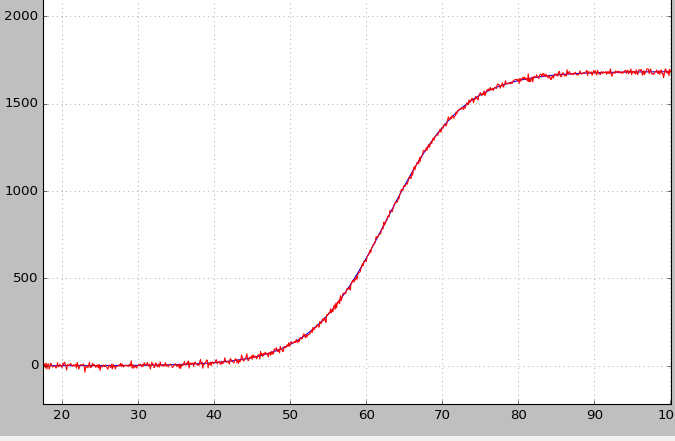
Take a screenshot, including the entire GUI. The graph should look similar to this. This is what your screenshot should look like.
Answer the following question using the plot:
- Why do the sensor readings (red line) not match the command velocity (blue line) exactly? (zoom-in as needed to detect discrepancies)
RQT Publisher
The final tool we will inspect in this lab is rqt_publisher. rqt_publisher provides a GUI plugin for sending arbitrary ROS messages to a channel to any node that may be listening to that channel.
We will use this tool to control the abort function that is already implemented in our rocketship. You would have noticed (in the listed topics or in the rqt graph) that one of the communication channels (topics) the rocketship accepts is called /launch_abort. Let’s use rqt_publisher to abort one of our launches. While your rocketship is running open a new terminal and type:
$ rqt
Click Plugins->Topics->Message Publisher. You will see a GUI appear, similar to the one below:
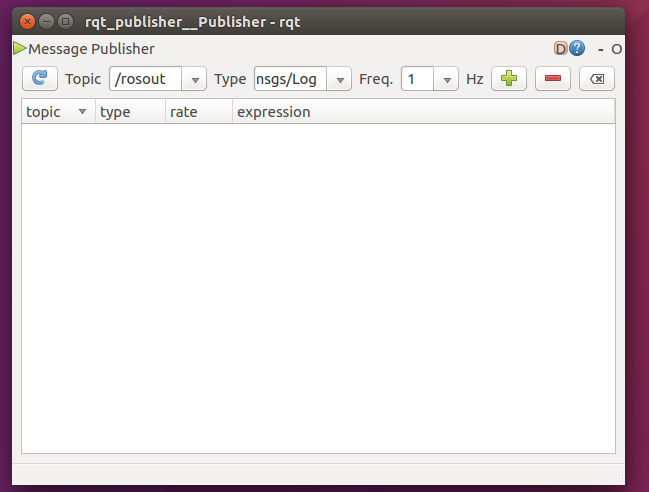
We were interested in the communication channel (topic) /launch_abort.
We are going to send (publish) messages on that communication channel (topic) and try to abort the rocketship from launching. To do that, do the following:
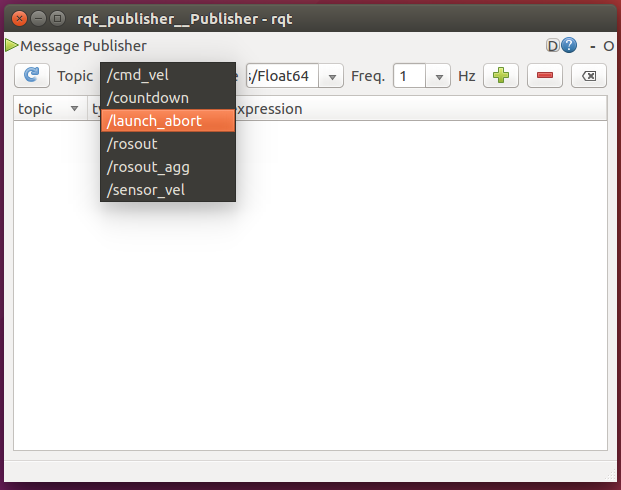
First: Select /launch_abort from the dropdown. Then change the frequency to 5. Then click the green + button.
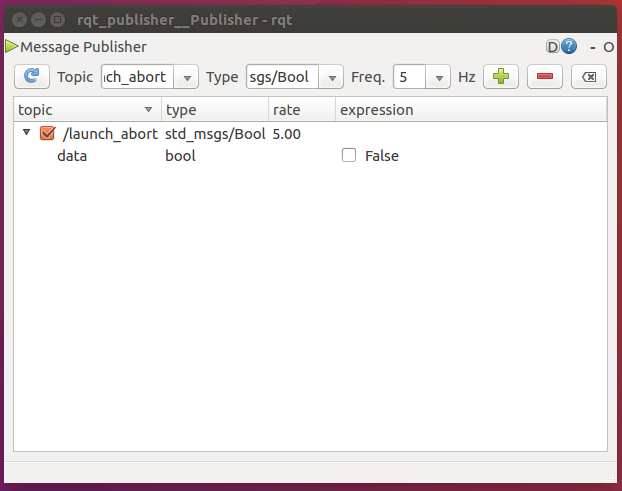
Second: Open the message using the side arrows. Then select the checkmark. Selecting the checkmark sends messages.
You will notice that nothing happens. Let’s investigate why. Open a new terminal and display the content (ROS messages) of the communication channel (topic) using the following code.
$ rostopic echo /launch_abort
>>> data: False
>>> ---
>>> data: False
>>> ...
This explains why it did nothing! We were sending /launch_abort message set to false. So we are telling the robot not to abort! To send true abort messages, check the checkbox next to the word false. Once you have done that, you should see the following appear on your rocketship terminal:
>>> [ INFO] [...]: Abort Failed
>>> [ INFO] [...]: Requested Velocity: 1684.000000m/s
>>> [ INFO] [...]: Requested Velocity: 1684.000000m/s
>>> [ INFO] [...]: Abort Failed
>>> [ INFO] [...]: Requested Velocity: 1684.000000m/s
The abort fails because the rocketship is already flying and so you cant abort the launch.
Checkpoint 4:
Rerun the abort test before the rocket takes off. Take a screenshot of the terminal, during an abort.
- What does the rocket print to the terminal when you abort before launch?
- After the successful abort, try and echo the command velocity (
/cmd_vel). What message do you receive, and does this make sense?
Final Check:
At the end of this lab, you should have the following:
- Have installed the virtual machine
- Launch the virtual machine
- Run
roscorein the terminal
- A screenshot of the ROS communication graph. Use this graph to answer:
- How many software modules (nodes) are there?
- How many communication channels (topics) are there?
- A screenshot of the velocity and sensor readings. Using the knowledge learned in class answer:
- Why do the sensor and velocity readings not match?
- A screenshot of the rocketship software during an abort during the countdown. Using the screenshot to answer:
- What is printed to screen when you abort?
- What is printed to screen when you try and echo /cmd_vel? Does this make sense?